The Entry/Exit Trigger allows you to send a personalized message to a user who has entered or exited a certain segment.
In this way, it is possible to program specific actions based on the user’s behavior.
To give an example, if a user who is in the Hero segment leaves this segment, I can immediately schedule a message to be sent to him with a discount code reserved for him to make him fall into that segment.
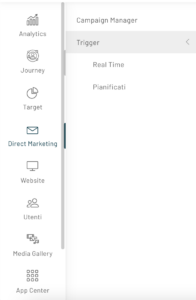
To configure this trigger, access the dedicated section, by clicking on Journey -> Trigger -> Real time.
To proceed with the creation of the new trigger, click on the “New trigger” button at the top.
In the basic settings , you can also enter the following fields:
- Name: enter the name you want to assign to the trigger;
- Description: enter a full description of the trigger:
- Catalog: select the catalog on which you want to trigger;
- Segment: select the segment to which you want to send the trigger (for this trigger, it is mandatory to select a segment);
In step 3 of the configuration, select the “Entering/Exiting a Segment” trigger.

After selecting the trigger, click on “Next”.
At this point you will be able to set the Advanced Configurations.
Once you have configured the trigger, proceed by clicking on the “Save” button.
Once the trigger is set, we move on to configuring the message or action for the specific trigger you created.
You can access the side menu, click on “Journey”, then “Campaign Manager”, and then select the campaign on which to insert the trigger, by clicking on “Edit”.
You can, at this stage, also choose to create a new campaign by clicking on “New Campaign.”

To proceed, once you have chosen to create or edit a campaign, click on the “Create New Experience” button at the top right.

After entering the name of the experience, select “All users of a trigger” from the User Base dropdown, then choose the previously created trigger and proceed by clicking the Confirm button.

Let’s take an example: I want to set up the sending of an email for the trigger I previously created.
To proceed, drag from the left column the Email item and link it to the source user base. At this point, click on the element and a right column will open where you can conclude the Configuration with Time and Content.

Thanks for contributing!