Support Blendee.com Support Blendee.com

  • Manuals And Support
    • Getting Started
    • Manuals And Support
    • Templates
  • Video Tutorial
  • Faq
  • Blog
  • English
    • Italiano
Home / General settings / How to manage tags

How to manage tags

191 views Less than a minute 0

The concept of tags is a very versatile concept and has a significant presence within our platform.

Tags can be present within products, content, users so as to be able to generate intelligent correlations between the different entities.

Tag Consultation

At any time, you can consult the tags that have been imported and/or inserted from various sources into your Blendee profile.

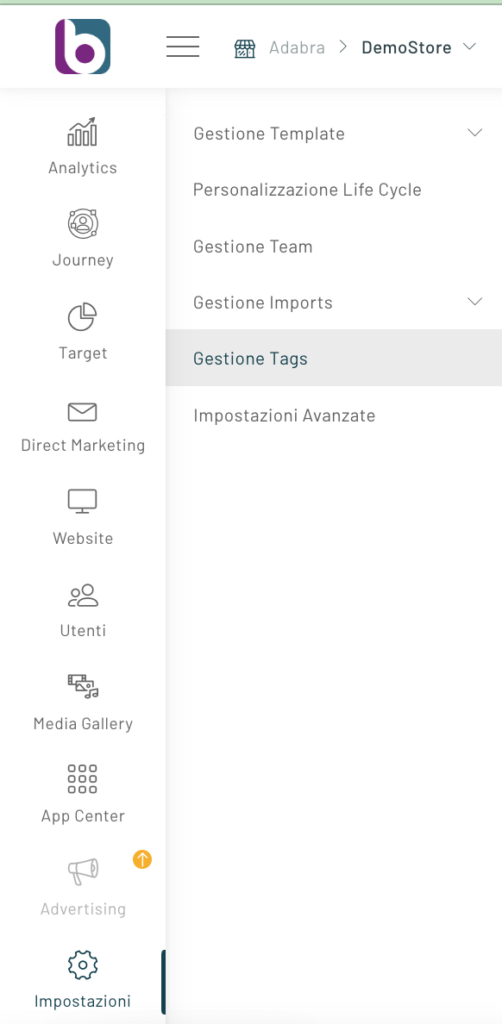
From the platform menu, navigate to Settings and select Tag Manager.

Here we will see all the tags used in our portal, we can also search for users associated with that tag by clicking on the “Search Users” button to the right of each row.

Associating a tag with a user

There are several ways to associate a tag with one or more users:

ASSIGNMENT DURING IMPORT (Bulk Mode)

Within the import lists (Automatic or manual) you can insert the tags you want to associate with users. These tags will then be made available by the platform and can also be associated with other users already present or that you will upload later.

SINGLE USER MANUAL ASSIGNMENT

In each individual user’s tab on the “Overview” tab in the tags section, we can remove or add tags to the individual user. To add a tag to an individual user, click Add Tags.

MANUAL ASSIGNMENT TO MULTIPLE USERS (Bulk Mode)

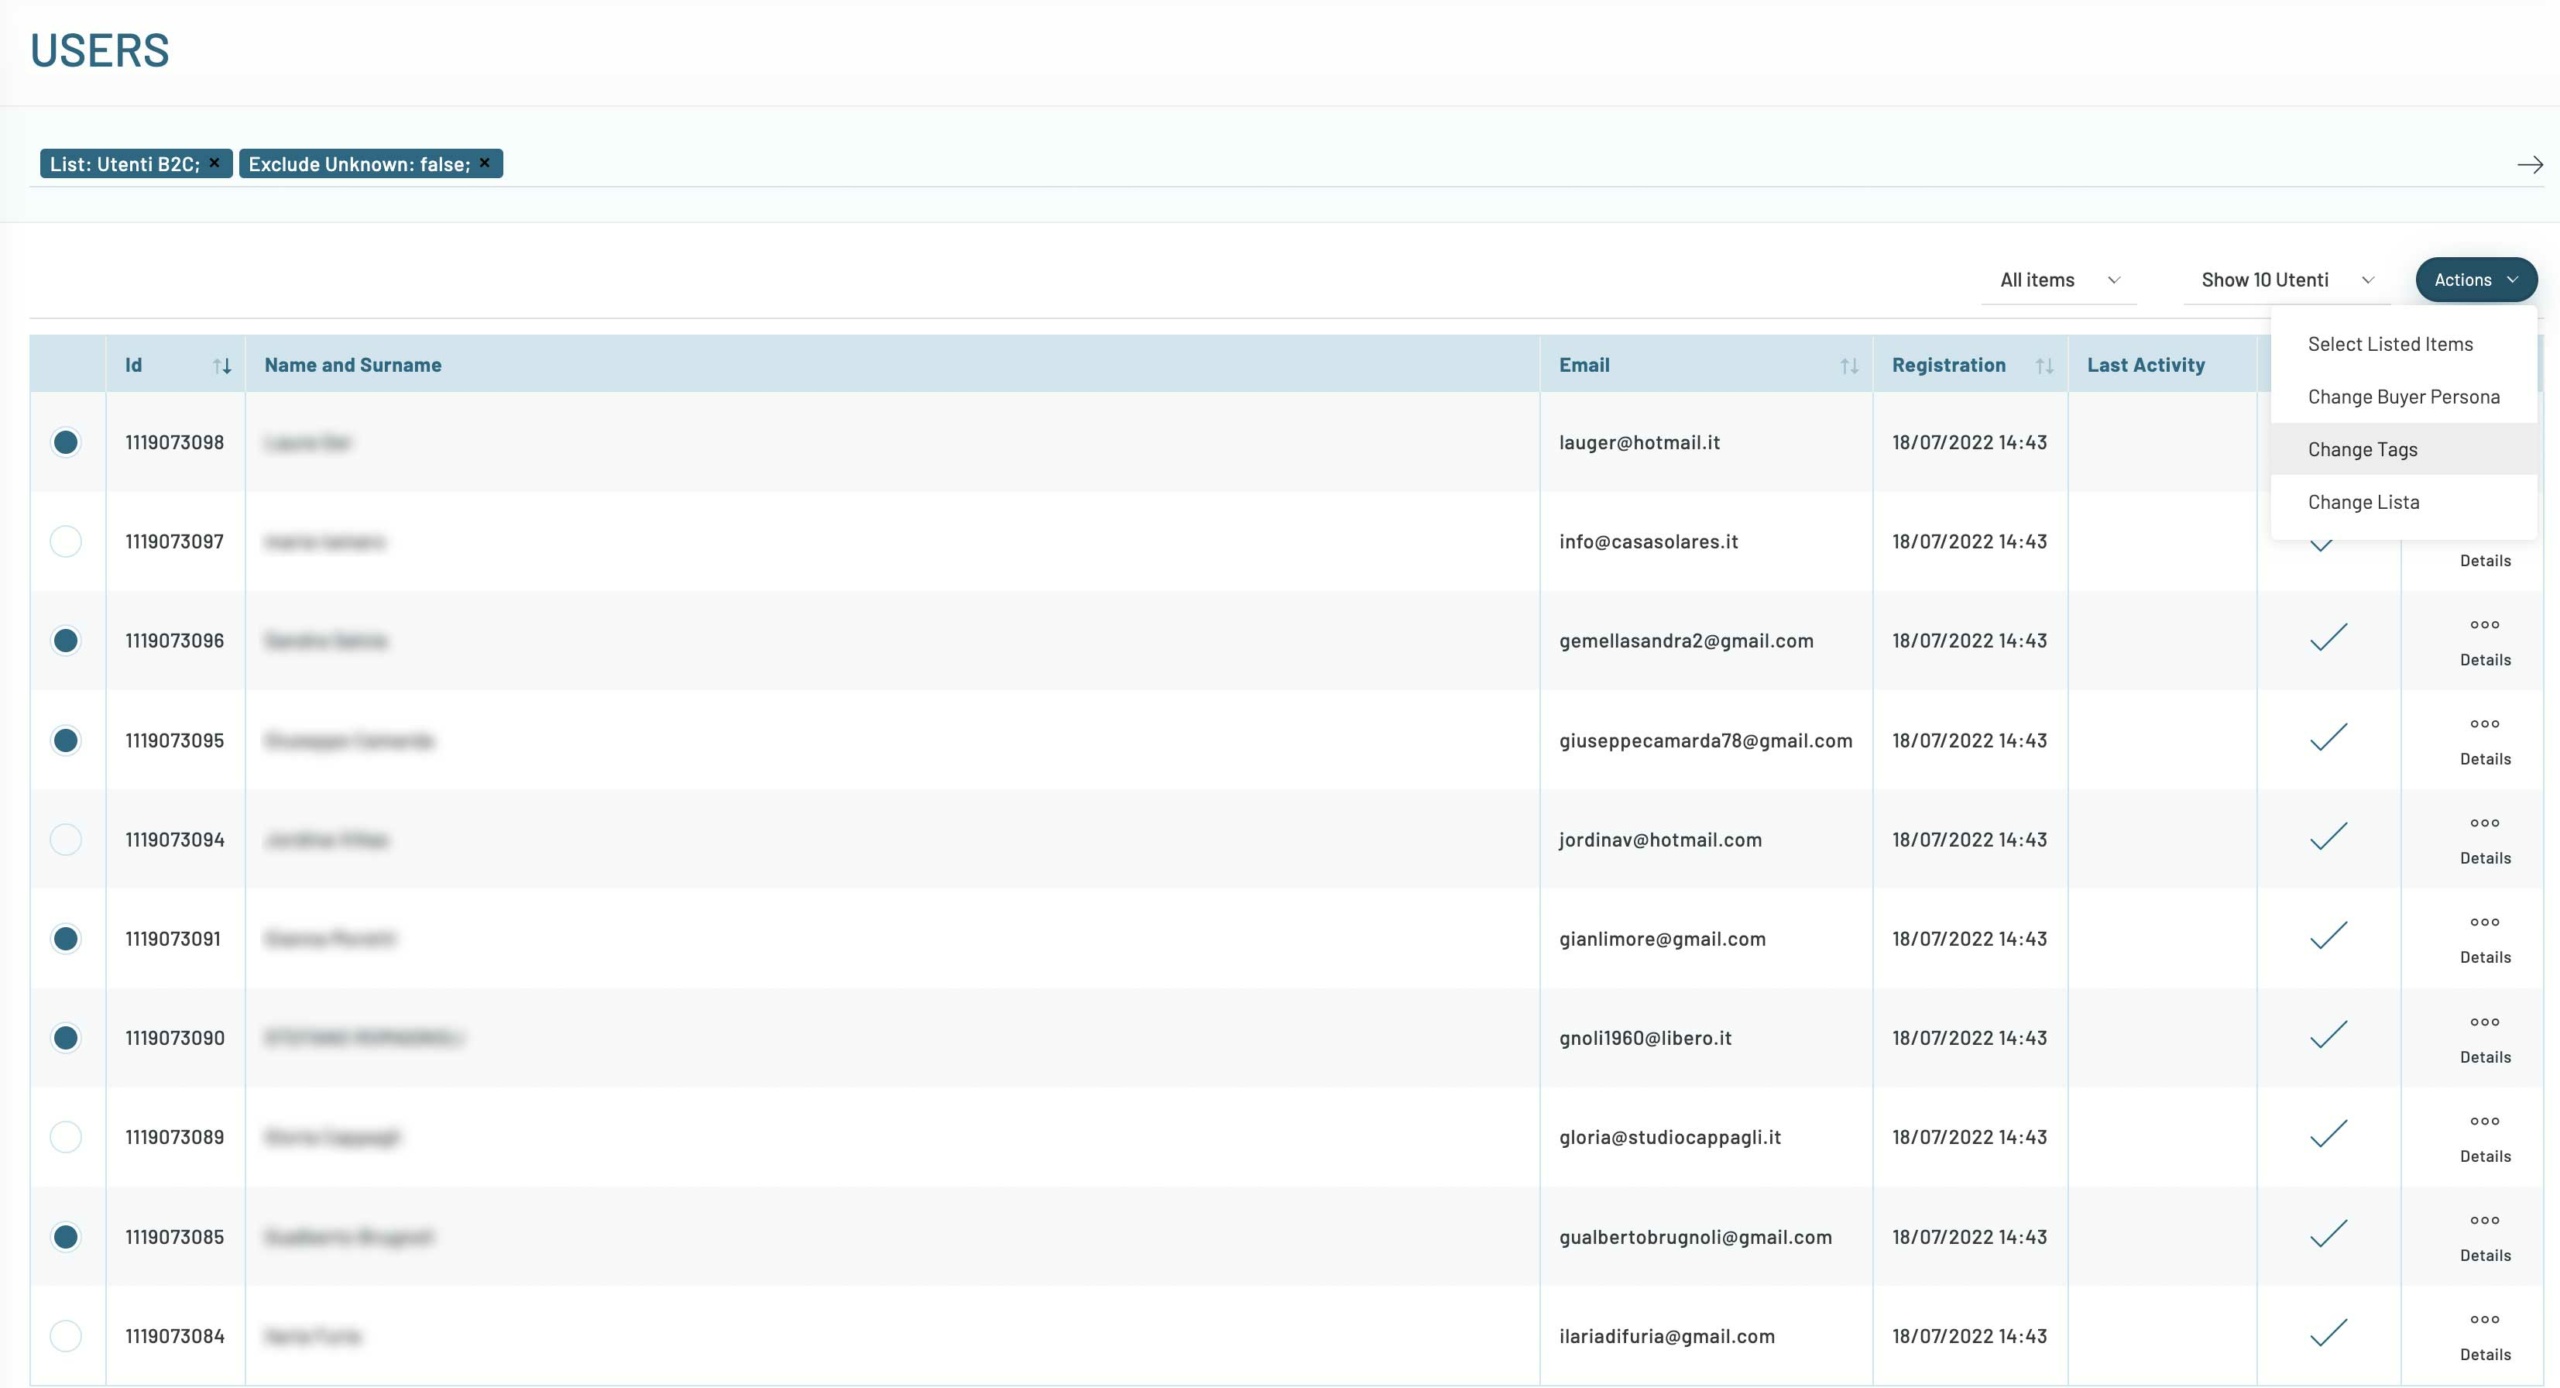
Within People Search, you can assign or remove a tag to both individual users and entire lists.

To do this, select the users you want to tag and choose Actions / Change Tags

ASSIGNMENT THROUGH AN EXPERIENCE

Select “Update Tags” from the experience actions.

Then configure it to add or remove one or more tags to the user within that experience.

For more information on this procedure, read the dedicated article.

Was this content useful?

Thanks for contributing!

Yes No
Tag InsertionTag ManagementTagging General settings

Related Articles

  • How to view your website when personalizing messages.
  • Login and Access to the Control Panel
  • How to show or hide the side menu
  • Current Catalog: How to View It and Details Shown

Search

Categories

  • 4A/B/XTesting
  • 5Account
  • 2AdServer: Reporting
  • 5AdServer: The Key Entities
  • 4Analytics
  • 3App Center
  • 2Audience Activation
  • 3Audience Platform Analytics
  • 10Audience Target
  • 5Audience Tracking Tag
  • 11Basic Settings
  • 7Buyer Personas
  • 11Campaigns Manager
  • 3Contents
  • 15Curated Audience
  • 10Dashboard
  • 1Direct Activation
  • 13E-mail Editor
  • 37E-mail Marketing
  • 9Experience Manager
  • 17Filters
  • 23Getting Started
  • 2Google AdWords
  • 3Media Gallery
  • 4Other Channels: Facebook Lead Ads
  • 2Other channels: Push Notifications
  • 3Other channels: Widget E-mail
  • 1Panel Research
  • 1Personalyzing your website
  • 14Segments
  • 1SMS Marketing
  • 24Template
  • 33Trigger
  • 1User Data Import
  • 27Users
  • 60video tutorial eng
  • 18Web Site: Behavioral Messages
  • 12Web Site: Forms
  • 13Web Site: Product Recommendations
  • 1Web Site: Smart Search

The most popular

  • Types of Product Recommendations – Glossary
  • Setting up filters
  • Introduction to behavioural messages
  • Configure a trigger
  • Introduction to Recommendations
© 2025 BLENDEE S.r.l. - Via Museo Biscari, 16 Catania (CT) 95131
Blendee Marketing Operating System | P. iva 06016140870
Privacy Policy - Cookies Policy