The Birthday Offers trigger allows you to send personalized communications with offers and promotions designed specifically for the user’s birthday.
To configure this trigger, access the dedicated section, by clicking on Journey -> Triggers -> Scheduled Triggers.
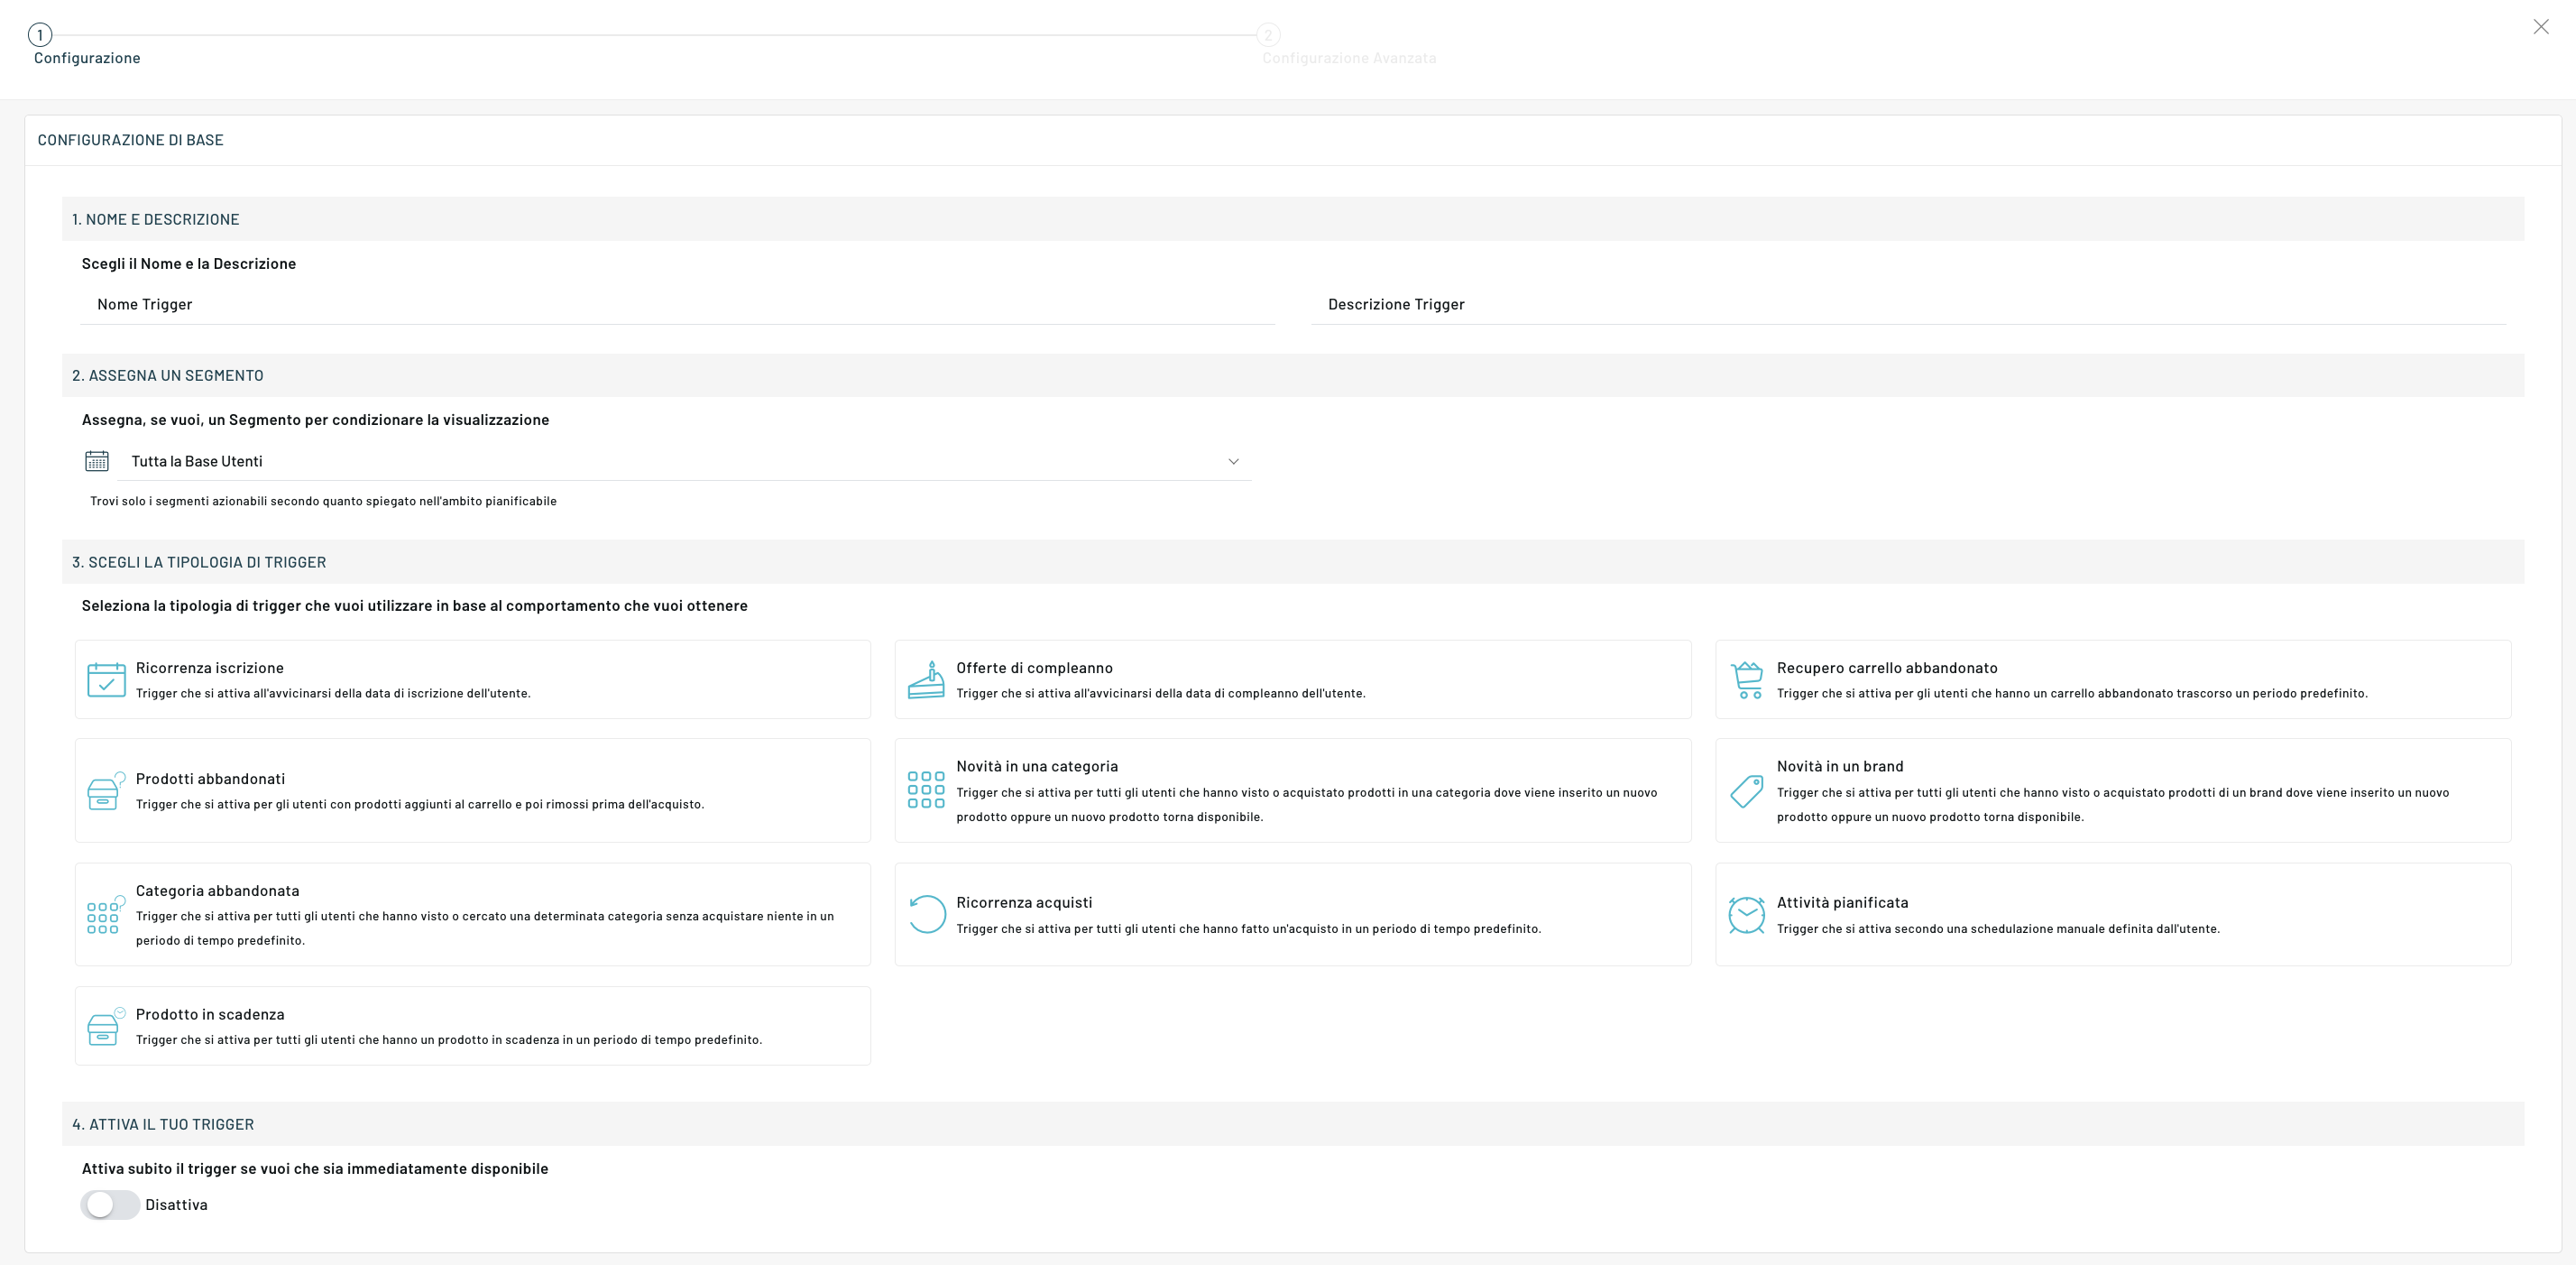
You can create the new trigger from the “New Trigger” button at the top.

In the basic settings , you can also enter the following fields:
- Name: enter the name you want to assign to the trigger;
- Description: enter a full description of the trigger:
- Catalog: select the catalog on which you want to trigger;
- Segment: select the segment to which you want to send the trigger (for this trigger, it is mandatory to select a segment);
In step 3 of the configuration, select the “Birthday Offers” trigger.
After selecting the trigger, click on “Next”.
At this point you will be able to set the Advanced Configurations.
For point 5 “Limits and error handling” we recommend that you read the article “Conditioning trigger submissions”.
Once you have configured the trigger, proceed by clicking on the “Save” button.
Once the trigger is set, we move on to configuring the message or action for the specific trigger you created.
You can access the side menu, click on “Journey” and then on “Campaign Manager” and then select the campaign on which to insert the trigger, clicking on “Edit”.
You can, at this stage, also choose to create a new campaign by clicking on “New Campaign.”

To proceed, once you have chosen to create or edit a campaign, click on the “Create New Experience” button at the top right.
After entering the name of the experience, select “All users of a trigger” from the drop-down menu in the User Base, choose the one you are interested in from those created and click on the Confirm button.

At this point, you can view the personalization page of the experience, and here you will be able to select the trigger you previously created.
Let’s take an example: I want to set up an email to be sent for a previously created trigger.
To proceed, drag from the left column the Email item and link it to the source user base. At this point, click on the element and a right column will open where you can conclude the Configuration with Time and Content.

IMPORTANT
The trigger is triggered once a day and on the data in our databases. If, for example, the import of users registered on the portal the previous day takes place after the trigger starts, these users will not enter the flow provided for the trigger.
Thanks for contributing!