Among the various Lead Nurturing channels that can be managed through Blendee, you will also find native integration with Facebook Lead Ads. Blendee’s Facebook Services connector allows you to automatically import leads generated by Facebook campaigns to the platform.
More information about Facebook Lead Ads can be found at this address : Lead Ads
In order to use the synchronization feature between Blendee and Facebook Lead Ads, you will first need to make sure that you have followed the steps described in this article: Configure the Blendee Facebook Connector .
The configuration of the Connector allows you to start the link between Blendee and Facebook.
Now let’s move on to Facebook Lead Ads: the Automation activities proposed by Blendee allow you to automatically import the lists of leads generated by your campaigns (you can decide which forms to import automatically and which not).
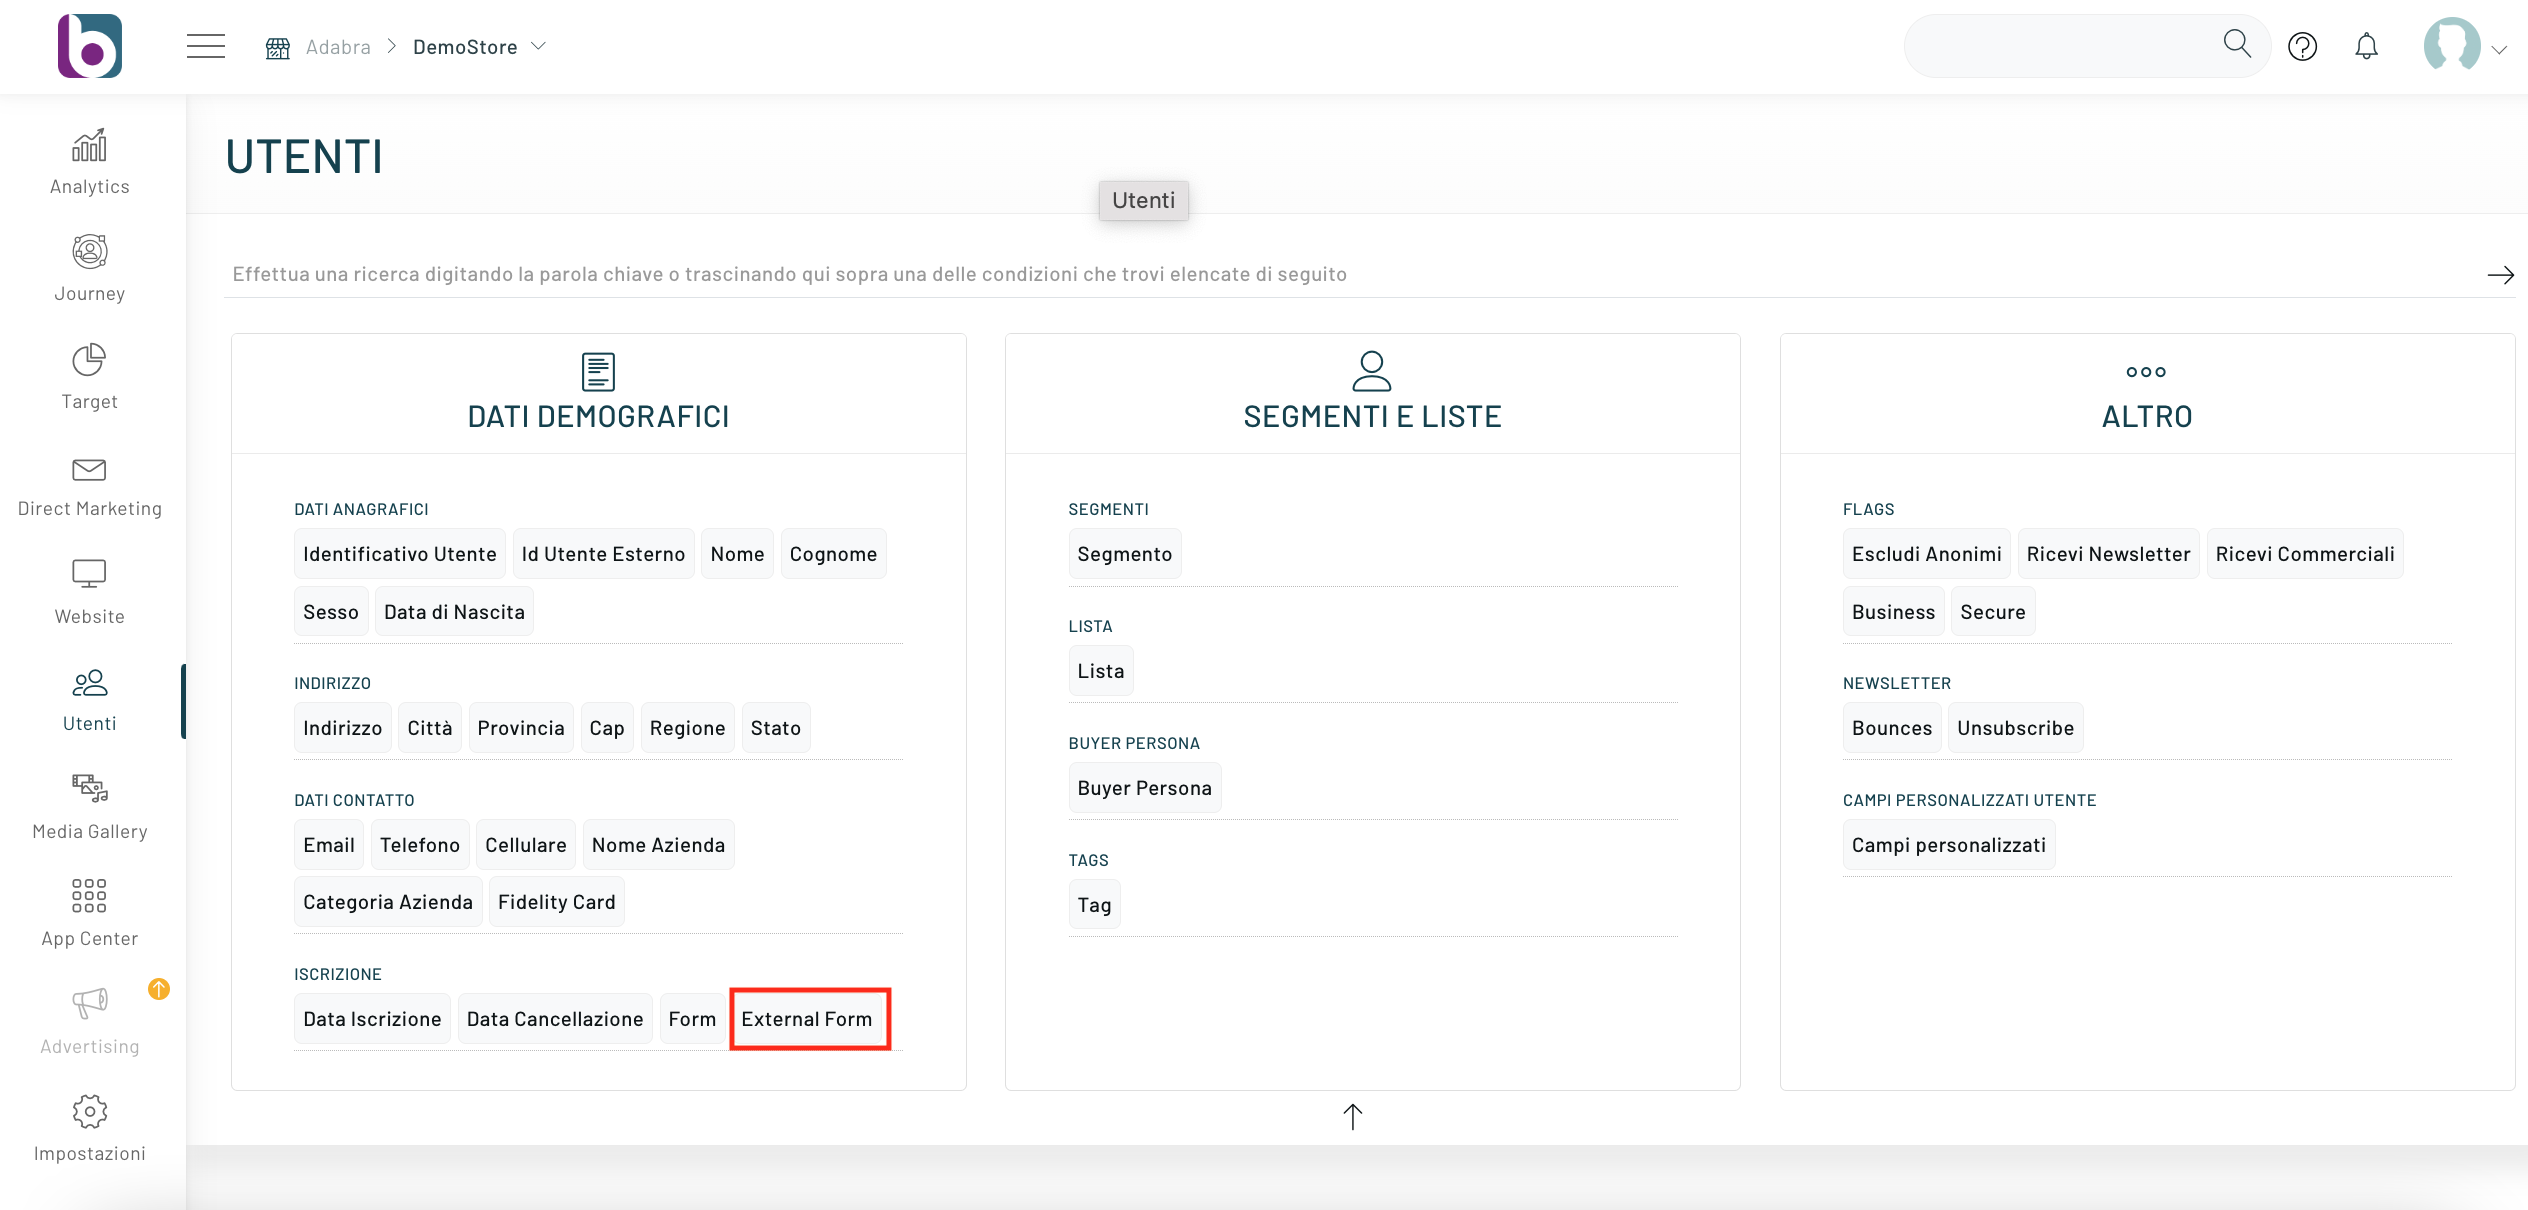
Once you have completed the authorization steps of the Blendee Facebook Services Connector, move to the left menu “Users” -> “Users”. And set up the search for External Form
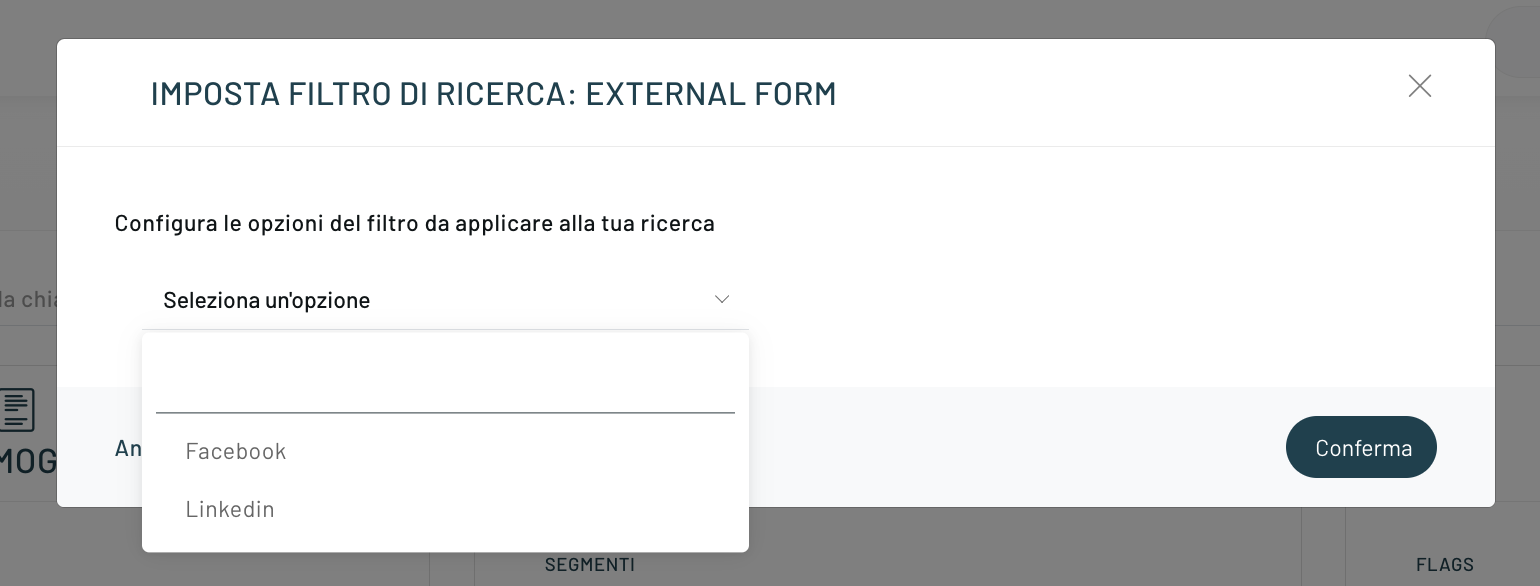
Once you drag the External Form widget into the search bar, you will be prompted to choose the synchronization platform (Ex: Facebook or LinkedIn):
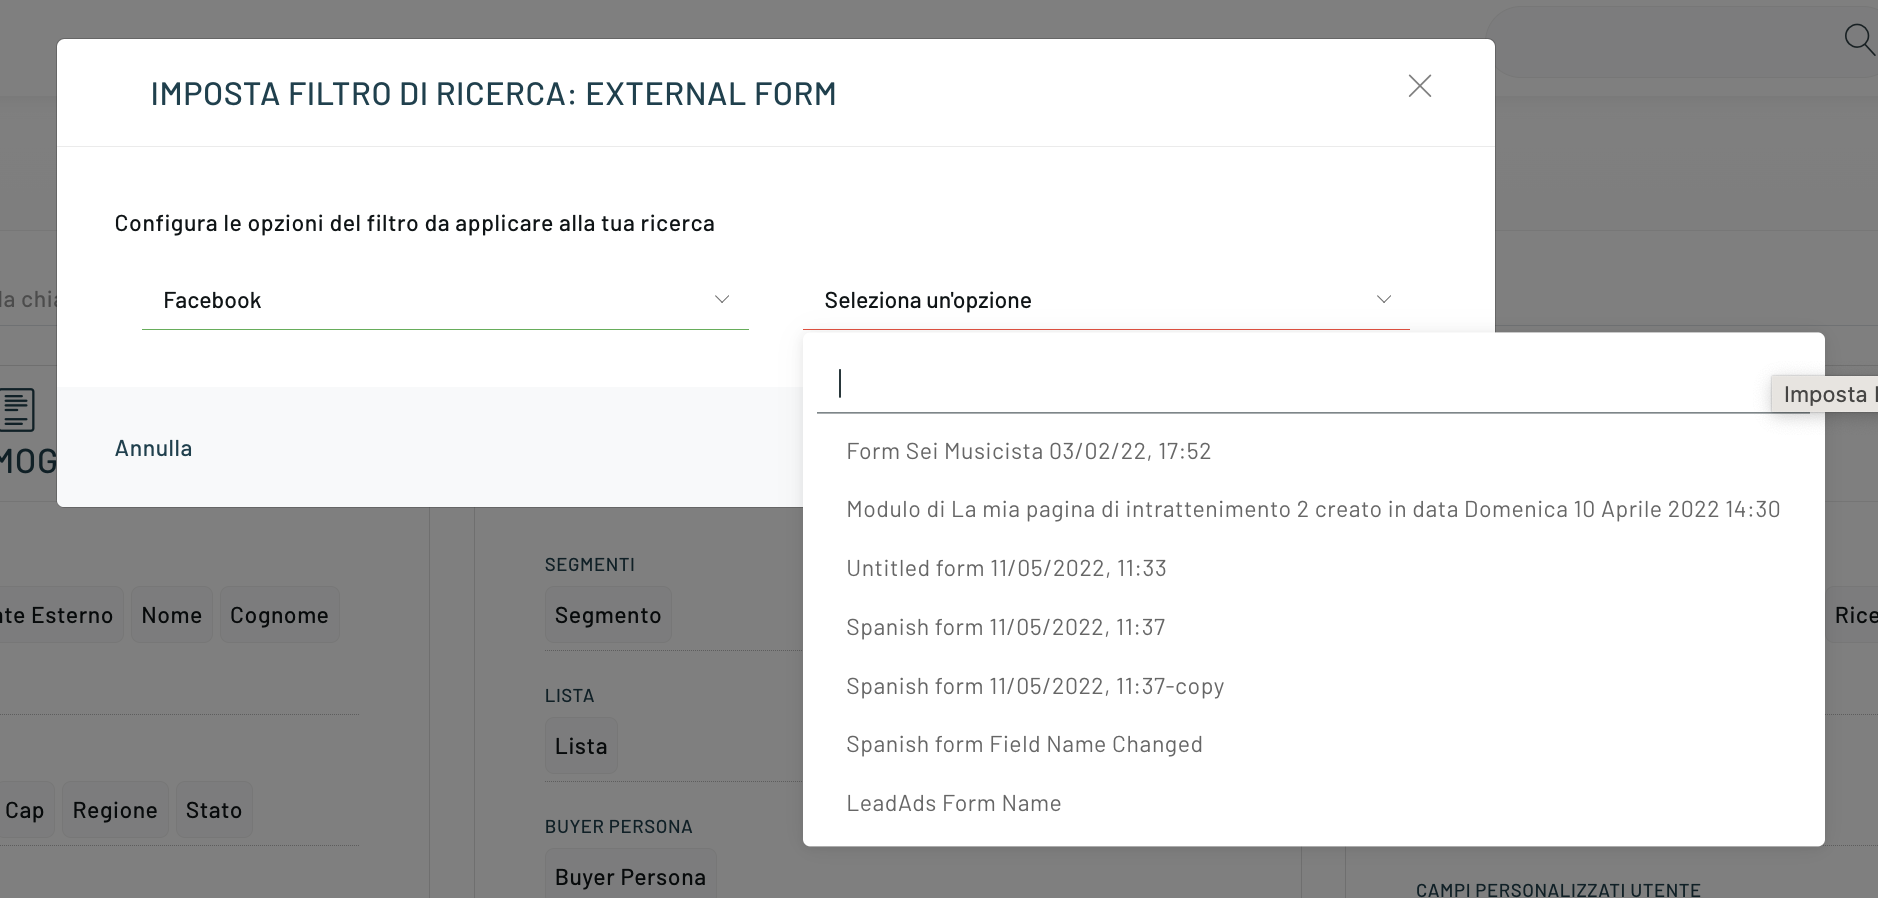
And then select the form you want to find the registered users for.
As soon as you have activated the sync, the Blendee connector for Facebook will automatically import both pre-registered users and those who will register from now on.
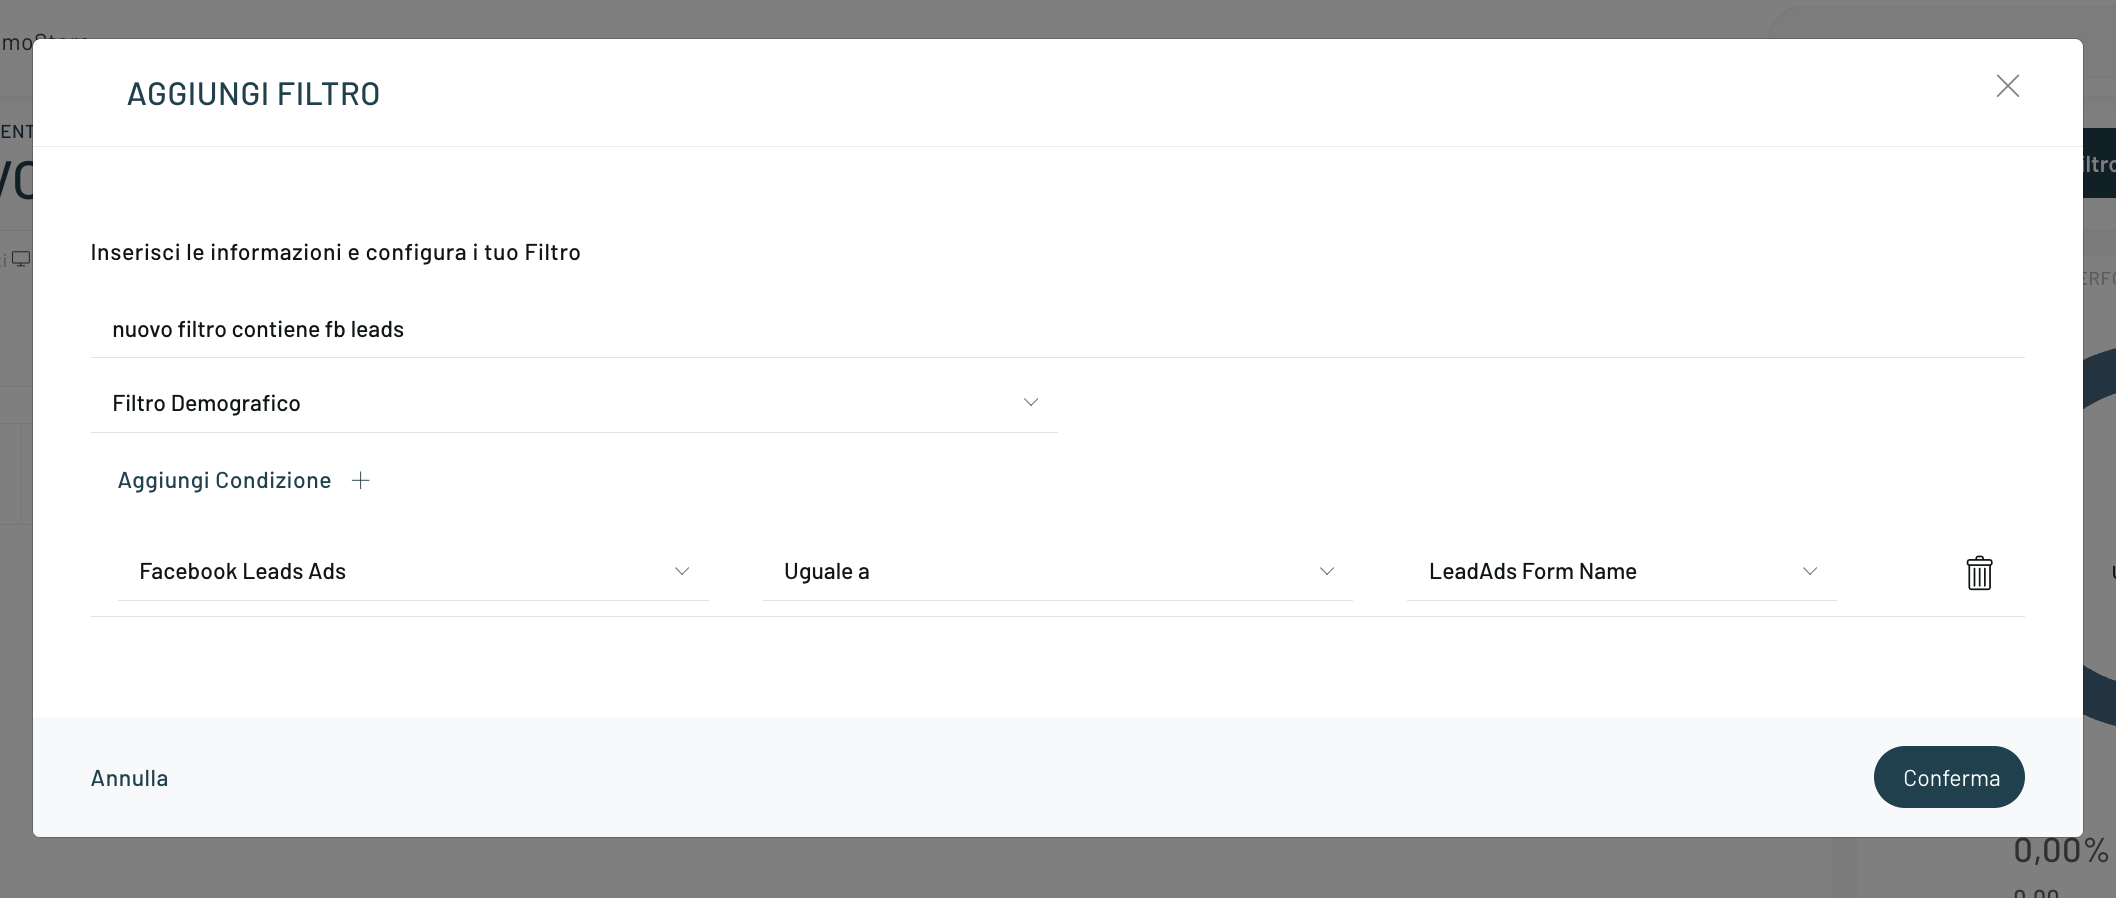
For each form on Facebook selected in the configuration phase of the connector, a filter will be created in the demographic filter library, from which you can create your segment.
NB. Demographic filters are updated daily
Create a path for your “Leads”: One of the recommendations that Facebook recommends is to create a path that is as automated and guided as possible for the users who participate in your “Form/Lead” on Facebook.
Thanks to the Blendee module it will be possible to import the data of users who have participated in your campaign and recognize them if they decide to visit our website, welcoming them with a personalized message or ad hoc proposals”Thank you for taking part in our Facebook poll! To thank you for the next 6 hours, here’s a personalized discount code!“.
The filters created by the Facebook connector can be used to personalize your website with behavioral messages or ad hoc recommendations, to send dedicated emails or SMS.
Set up a lead campaign:
With lead ads, you can add contact forms to your ads so you can request the email addresses or contact information of people who click on your ad.
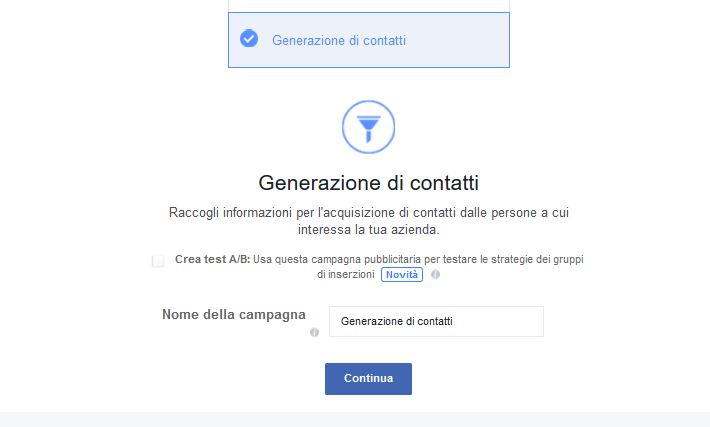
To create a lead campaign, log in to your Business Manager and click Ads Manager or Power Editor. In Ads Manager , click Create an Ad in the top right, and in Power Editor , click Create Campaign in the top left. Among the various objectives that Facebook offers, choose Lead generation, name your campaign and click Continue.
At this point, a screen will open where Facebook allows you to choose the Page you want to promote (if you manage multiple Pages).
Note: Remember to agree to Facebook’s lead ads terms for the page you want to promote.
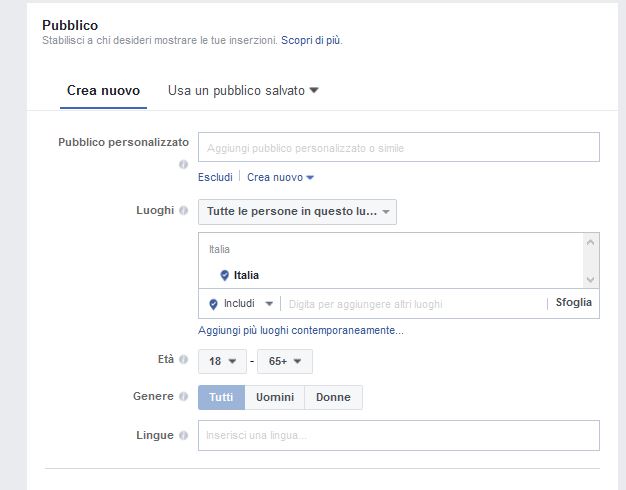
Like any Facebook campaign, the next steps are to choose the Audience, i.e. who to show the ads to, the Placement (type of device and platforms where to show the ad) and the Budget and Schedule.
At this point, you need to choose what you want your ad to look like, which is the Format. Facebook offers 4 types of formats: Carousel, Single Image, Single Video and Slideshow.
The graphic appearance is one of the most important variables to attract attention and arouse interest from the user, so choose it very carefully. Just as the text must be concise but effective.
The last step to configure is the creation of a new contact form. Facebook allows you to choose the information you want to request from your potential contact, it also allows you to configure personalized questions to ask users.

Thanks for contributing!