From the side menu on the left, go to Web Site -> Recommendations.

Click on the “New Recommendations” button at the top and the screen will open as below:
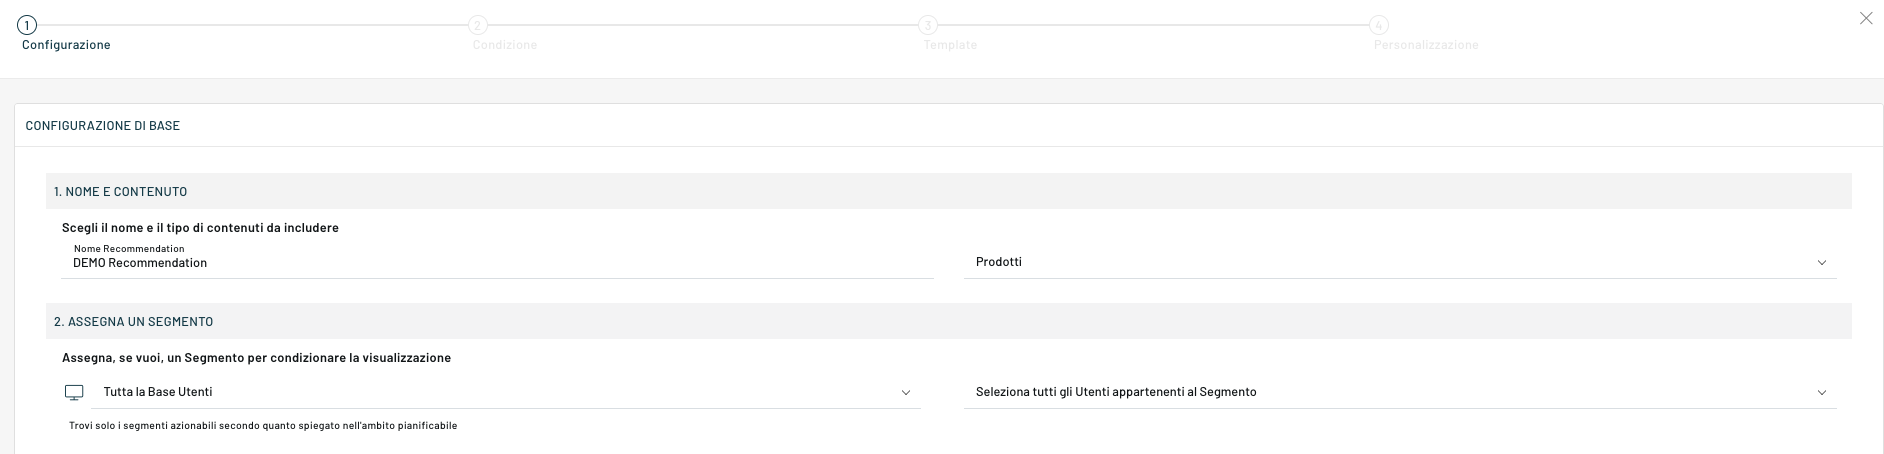
Step 1: Enter the name of the Recommendation and choose whether to apply it to content or products.
Step 2: Choose the type of Segment and select whether the Recommendation will be applied to users who belong to or do not belong to that segment.
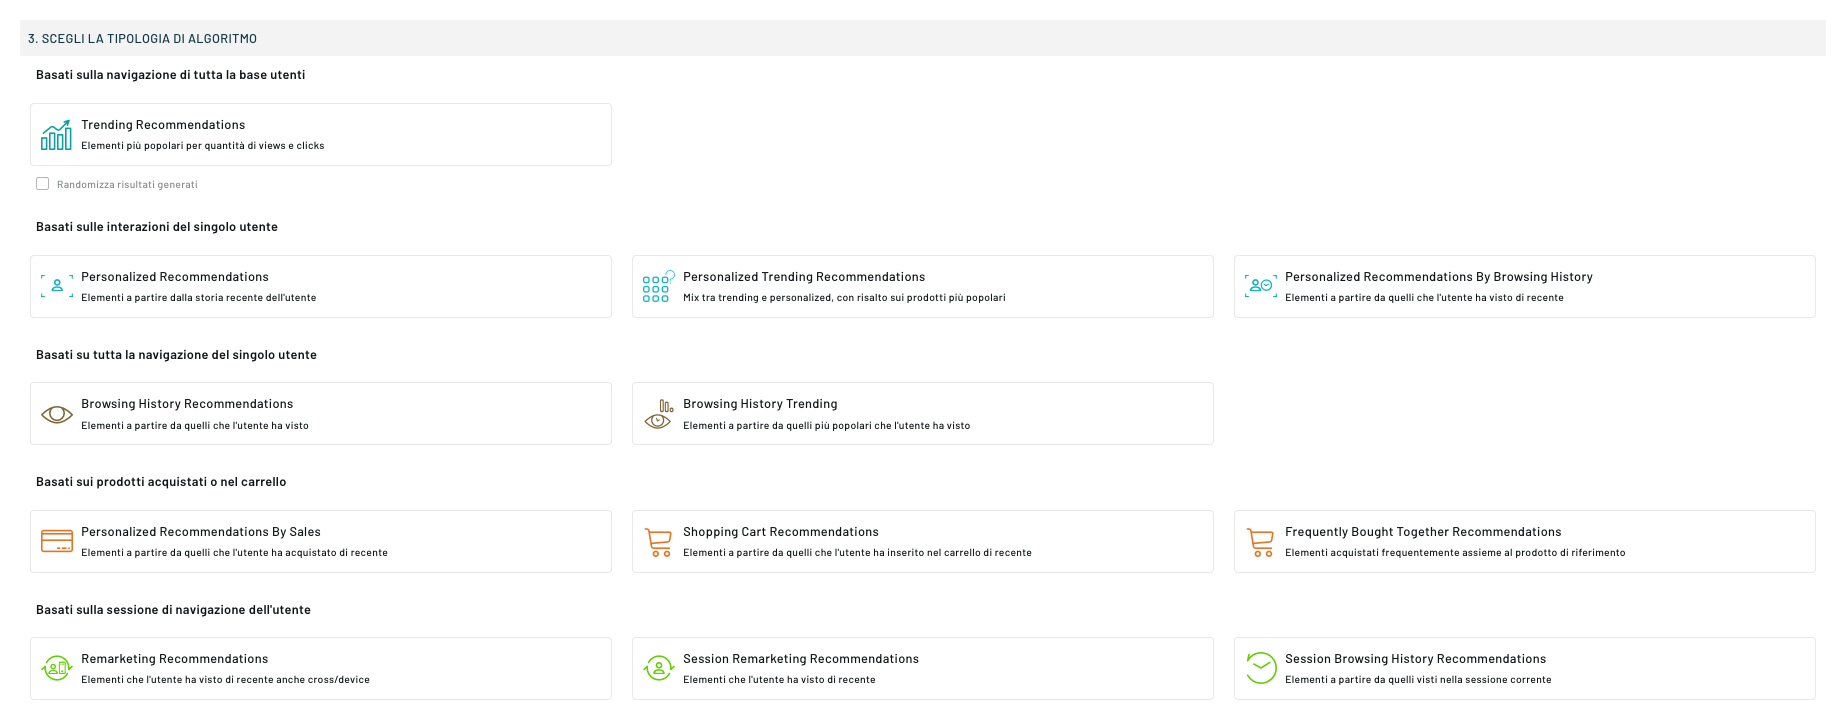
Step 3: choose on the basis of which algorithm the Recommendation will be proposed.
E.g. Most popular items or items visited by the individual user.
Each individual Algorithm contains a name and a small definition, which makes it easier to choose according to the strategy.
NB: The Frequently Bought Together algorithm only works for product pages.

Step4: Enter the minimum and maximum number of items to display in the recommendation.
Step 5: Enter start and end date. In case you want to make it last over time, you can only enter the start date and not the end date.
Step 6: Activate the Recommendation in case you want it to be immediately available.
Click the “Next” button and we will move on to setting the “Conditions” of the Recommendation. You will be able to view the following steps.
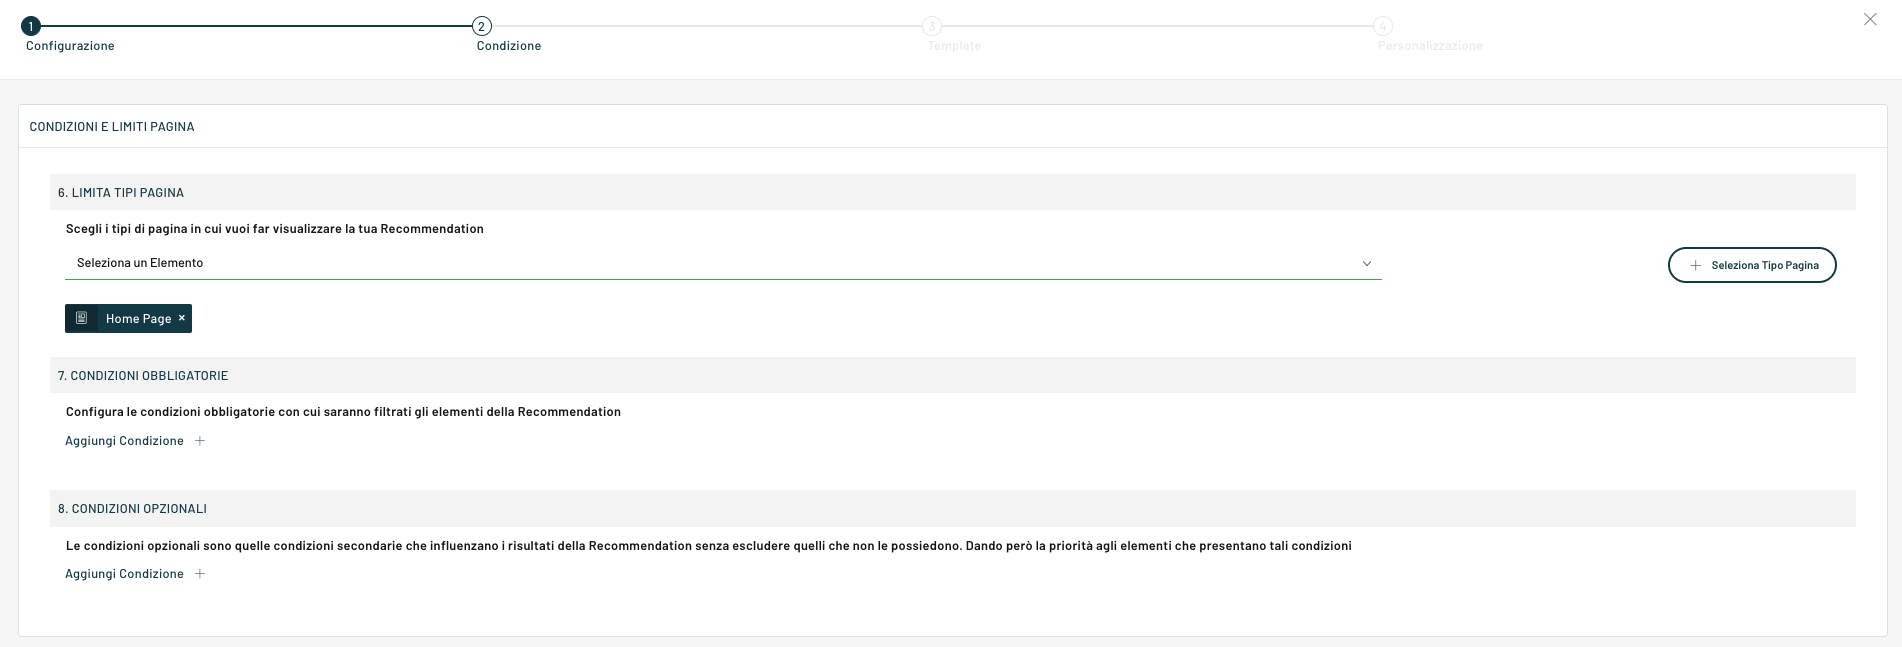
Step 6: Select the page types from the list or add the Page Type by clicking on the button on the right. You will be able to insert multiple page types by repeating the operation.
Step 7: Configure the required conditions by clicking on Add Condition +. Choose from the list the mandatory conditions with which the elements of the Recommendation will be filtered:
- Brand
- Category
- Category: Cross
- Condition
- Product Brief Description
- Product description
- Available
- Keywords
- Model
- Product Name
- Old price
- Final Price
- Price Percentage
- Product
- Priority
- Quantity In stock
- Discount
- SKU
- Tags
- Related Products
Depending on the condition you choose, additional fields will appear.
In case you want to delete the chosen condition, press on the trash can icon on the right to delete it.
Multiple conditions can be added.
Step 8: You can configure Optional Conditions. The procedure is similar to those of the Mandatory Conditions, but they differ by not completely excluding all those who do not possess them.
Click on the “Next” button.
At this point you will be able to choose the template of our Recommendation.

You can choose whether to customize a template among those proposed, or choose from the Personal ones in the corresponding tab. For information on how to customize a template , follow the appropriate guide. Once you have selected the chosen template, click on the “Next” button at the bottom right to continue with the configuration.

To preview our website, click on the arrow to the right of the address bar at the top of the configuration frame. Then let’s move on to the configuration of the XPATH, we refer to the dedicated article.
By clicking on “Update Preview” we will be able to preview our recommendation and proceed with the customization of the graphics by modifying the settings from the side menu divided into sections. It is possible to modify the appearance, colors, information shown in relation to the recommendations or insert additional elements such as texts and more.
To save the Recommendation, at the end of the configuration, click on the “Save” button at the bottom right.
Thanks for contributing!