To configure a Behavioral Message, from the menu on the left, go to Web Site -> Behavioural Messages.

From the control panel, click on the “New Behavioural Message” button at the top right.
At this point, a window will open as in the image below.

In step 1 you can enter the name of our behavioural message and choose whether to include Recommendations, if we want to insert them, select whether they are products or content (e.g. blog articles); the coupon to be included among those previously created, the form from those you have previously created.
In step 2 you can select a specific segment from those created and choose whether or not to display the behavioural message to the users of that segment. In case you want it to appear to everyone, select “Entire user base”.
In step 3 it will be possible to add the type of algorithm to be used to show the recommendations if entered in step 1 and, in step 4, the number of products that will have to be extracted.
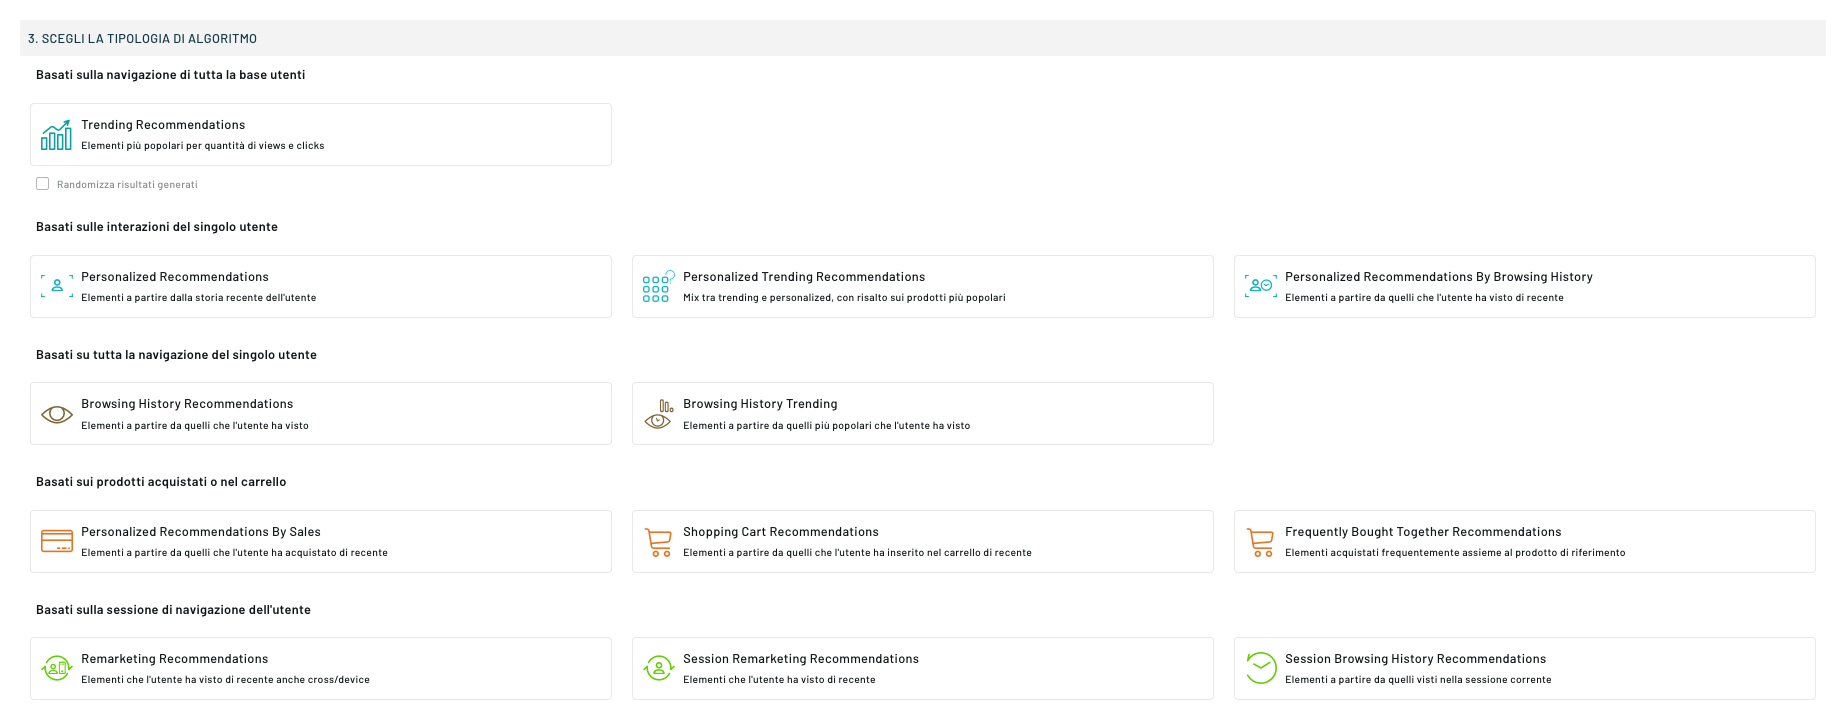
In step 5, select the dates by which the message will be active and visible: if you want to make the message always valid, you can leave the end field empty. If you want to activate behavioural message immediately, you can activate it in step 6.
To continue with the configuration, click on the “Next” button at the bottom right.
At this point, select the types of pages where you want your behavioural message to appear.

The page types are:
- Home
- Category Page
- Product Detail Page
- Cart Detail
- Search Page
- Landing Page
- Out of Stock and Not Found
- Other Pages
- User Registration
- Checkout Pages
- Content Page
- Blog Home Page
To select the page type, choose it from the drop-down menu and click on the button on the right “Add page type”: at this point you will be able to view it in the box that will appear below.
You can select multiple page types. To do this, simply select another type from the drop-down menu and click on the button on the right again. In case you don’t select pages, the message will be shown on all of them.
Attention: in case the message is not an overlay but linked to a certain XPATH, the message will appear only if the path is present in the DOM of the page.
To continue, click on the “Next” button at the bottom right.
At this point it will be possible to choose between the available templates on Blendee or among the Personal ones previously created; it is also possible to create a behavioural message from a PLAIN HTML by selecting the corresponding template.

To select a template, you will need to click on the “Select” button in the box corresponding to the template you are interested in. To continue, click on the “Next” button at the bottom right.
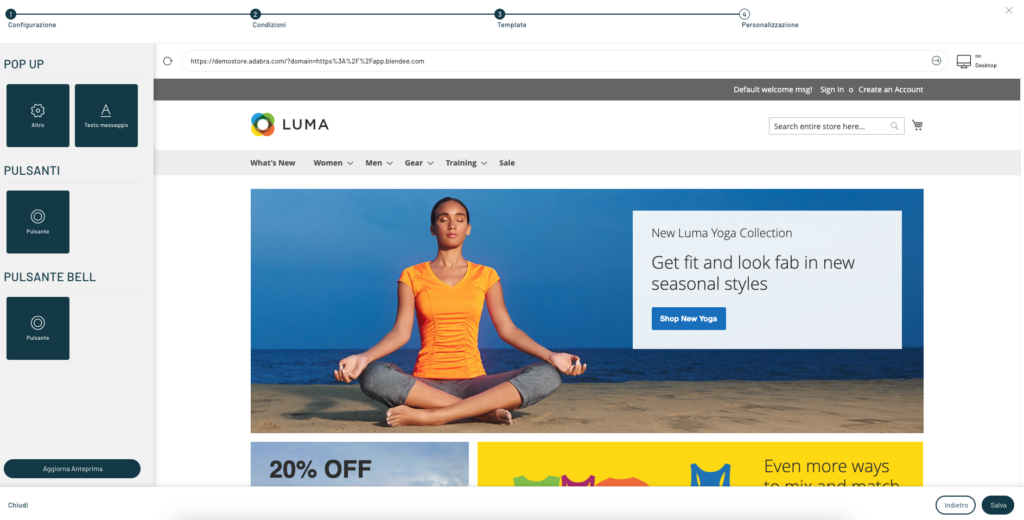
At this point it will be possible to customize our message from the left menu and view a preview in real time. Once the configuration is finished, click Save.
Thanks for contributing!