Blendee allows you to create tags to track users’ browsing on your websites or to track custom actions taken by users on your websites.
How to track users who visit your site
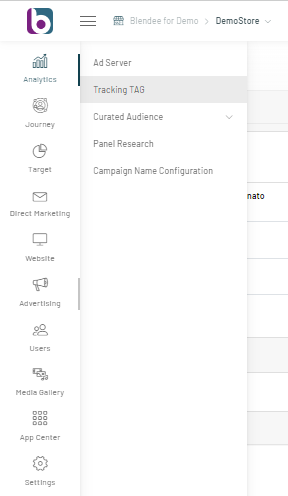
To create a tracking tag for users viewing your site, simply select “Advertising” in the main menu and then “Tracking TAG”.
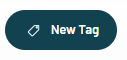
Once you have accessed the section, click on the “New Tag” button at the top right.
A screen will open where the step-by-step tag creation process will begin.
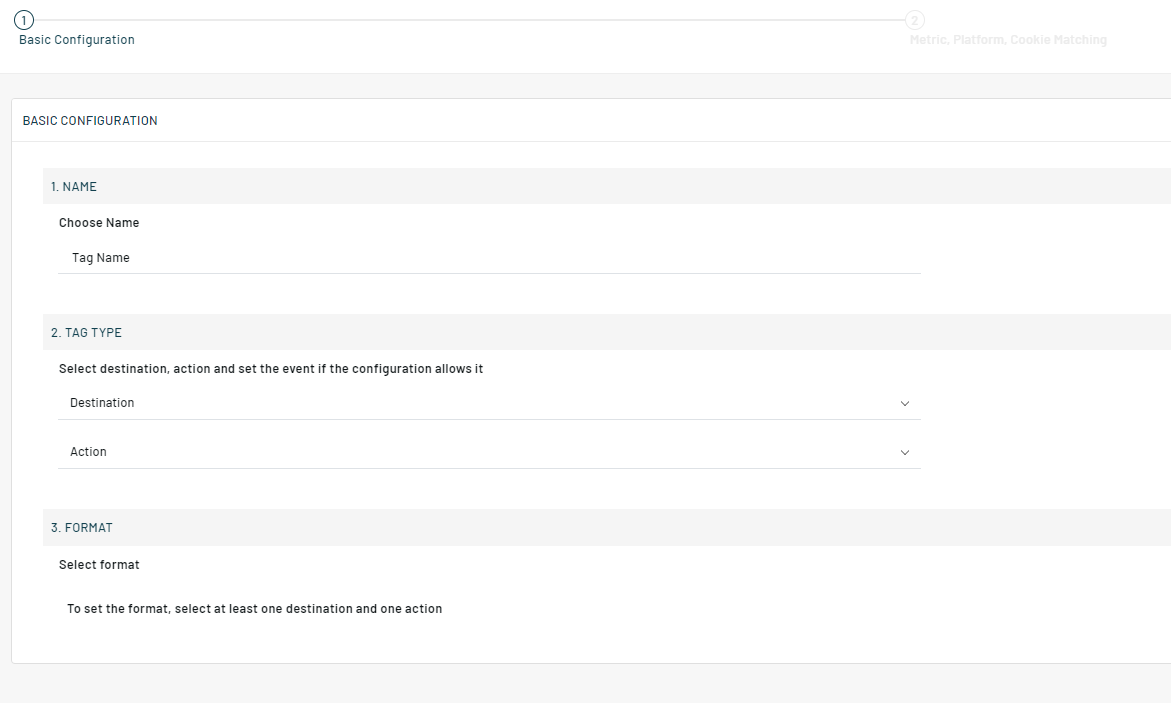
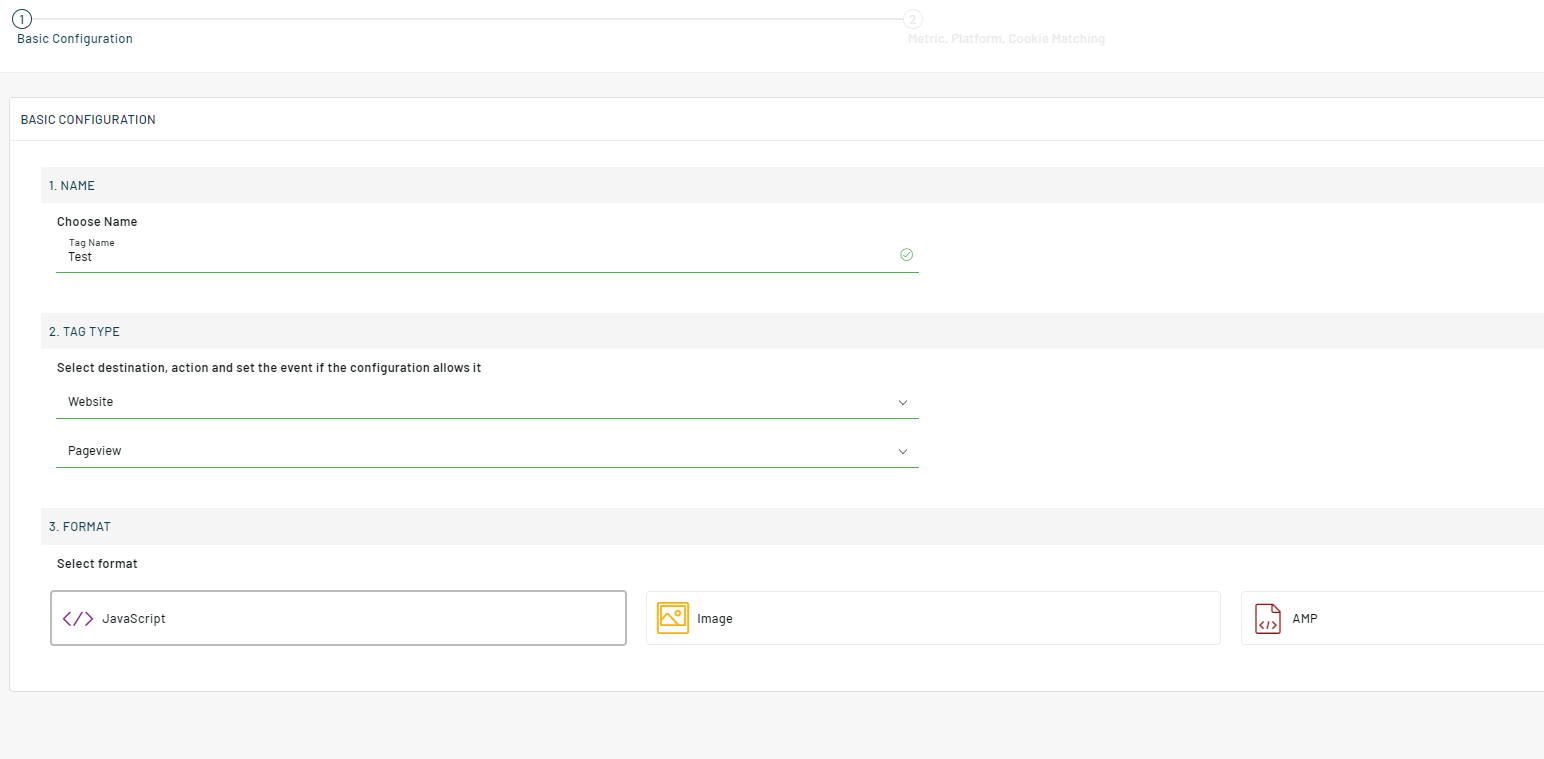
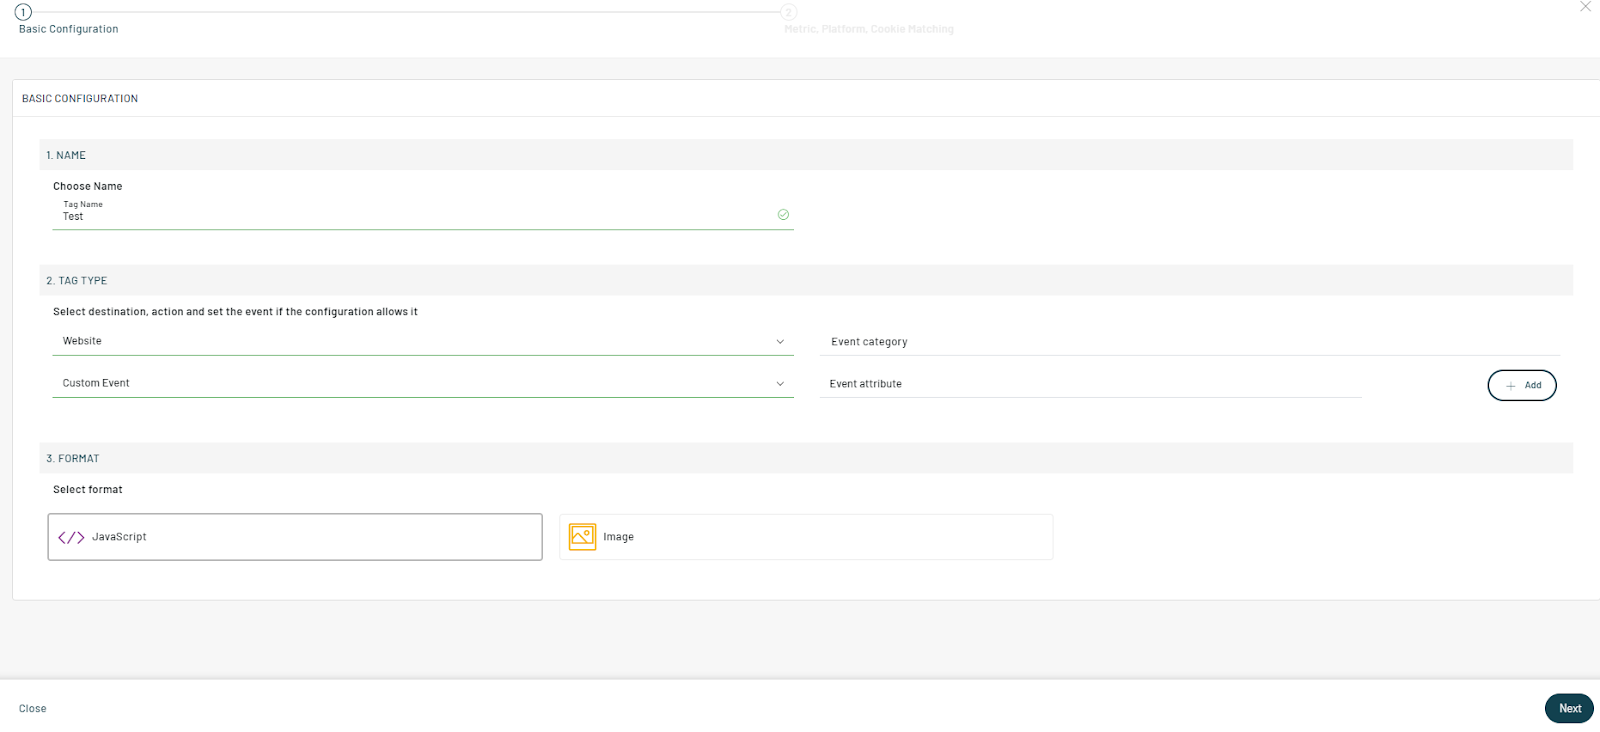
Enter the main information to configure the Tag, such as:
- Name: enter the Name for your tag;
- Destination: select “Website”;
- Action: Select “Pageview”;
- Format: Select “JavaScript”;
Click on the “Next” button at the bottom right.
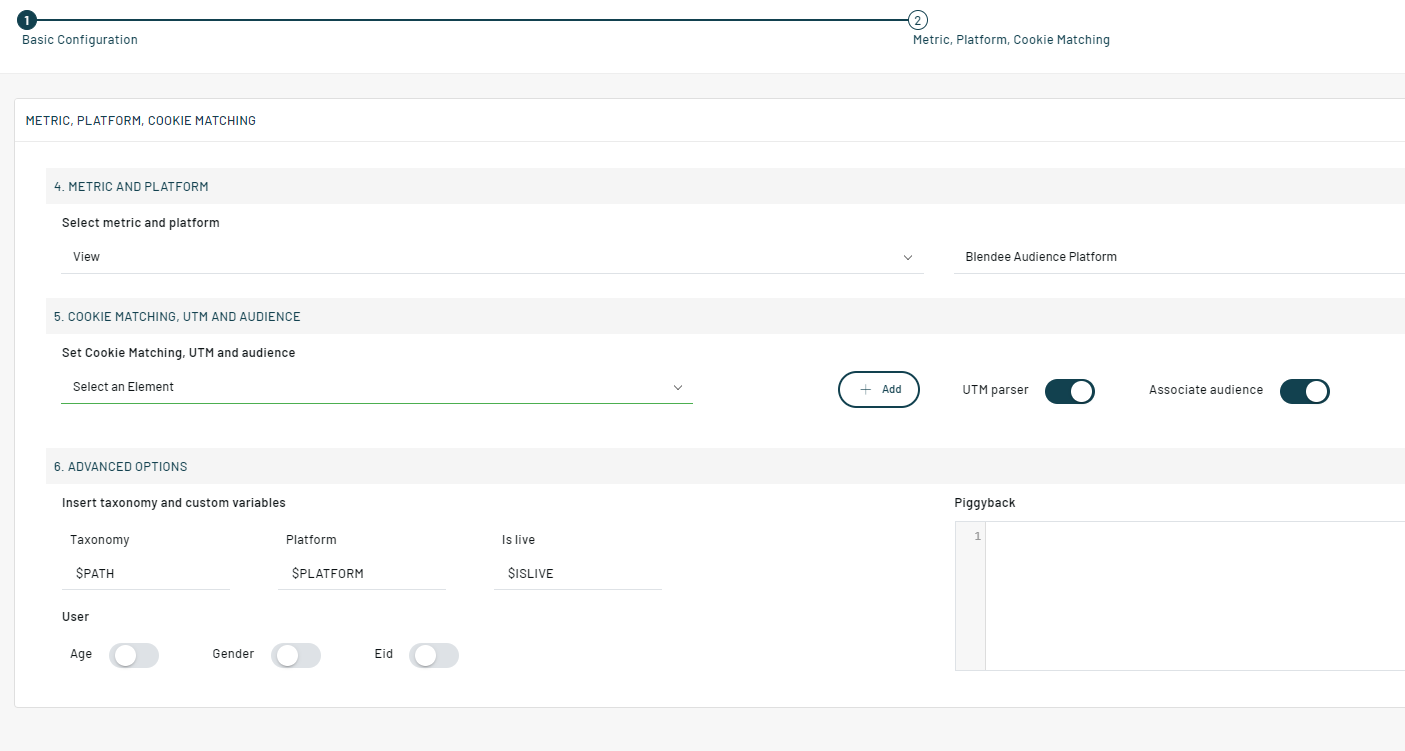
Proceed to set up the tag.
Blendee automatically values the following fields:
- Metric: “View”
- Platform: “Blendee Audience Platform”
Optional:
- Cookie Matching: By selecting one or more cookie matching platforms, you will override the default platforms (these are set by the Blendee team during the onboarding phase).
On the right side of the page, you’ll find two different plugins:
- UTM Parser: Enabled by default, Blendee automatically captures UTM parameters from the URL containing the tag.
- Associate Audience: Enabled by default, Blendee automatically creates an Audience Direct associated with this tag.
Under the Advanced Option, you’ll find additional optional plugins to add to your tag configuration:
- Taxonomy and Custom Variables: if valued, Blendee applies a more sophisticated mechanism for the acquisition of tag-specific parameters such as age, gender, browsing platform by registered users, providing additional information on user navigation and behavior.
- Piggyback: Enter the code you want to run on a page.
Finally, click on the “Save” button and the Tag will be present in the list of your Tags in the Advertising>Tracking TAG section.

How to track users who perform custom actions
To create a tracking tag for users who perform custom actions on your website, the process is similar to the one described above for tracking Pageviews.
Once you have entered the main information to configure the Tag, such as:
- Name: enter the Name for your tag;
- Destination: select “Website”;
- Action: select “Custom Event”;
- Format: Select “JavaScript”;
On the right side of the page, there will be the Event Category & Event Attribute fields to fill in:
▪ Event Category: Enter the category of the event you want to track. For example, “coupon-crispy-night”, if the event is related to the click of the button to download or send a Coupon related to the Crispy Night contest;
▪ Event Attribute: Enter the attributes of the event you want to track. For example, in the “coupon-crispy-night” category, it could be “download-coupon” and “send-coupon”.
Both the Category and Attributes should be typed in lowercase with no spaces.
Click on the “Next” button at the bottom right.
Once all the steps are completed, Blendee automatically values the following fields:
- Metric: “Event”
- Platform: “Blendee Audience Platform”.
Finally, click on the “Save” button and the Tag will be present in the list of your Tags in the Advertising>Tracking TAG section.
Thanks for contributing!