An Expiring Product Trigger fires X days before the expiration of a purchased product
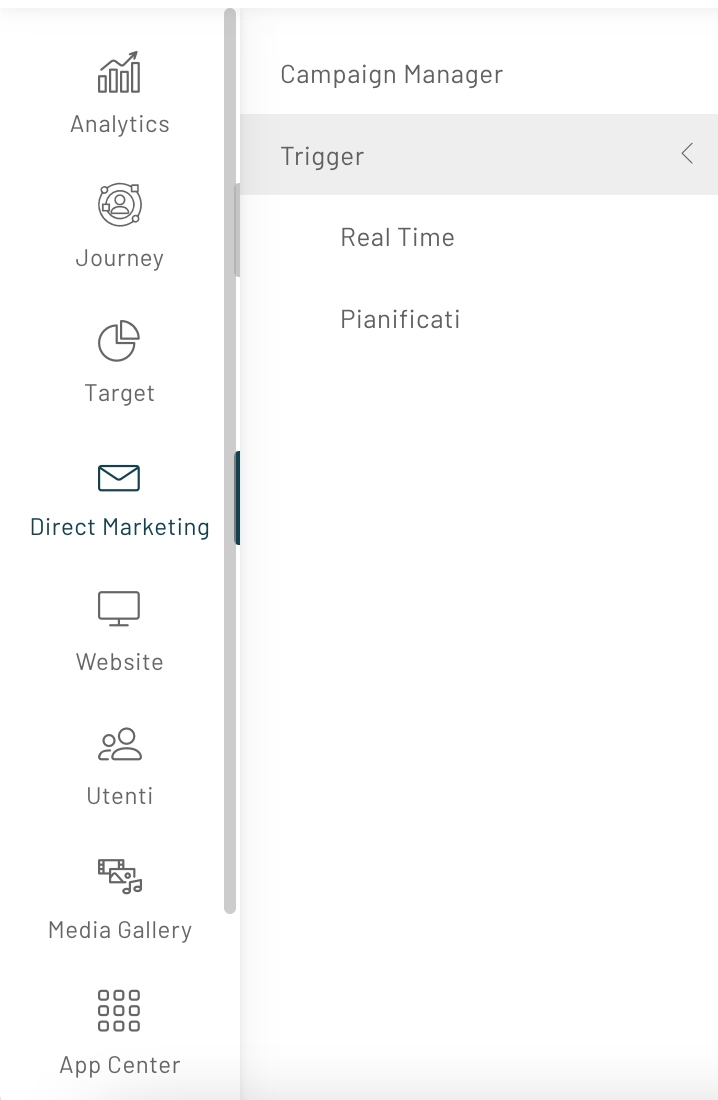
To configure this type of trigger, click on Journey -> Triggers -> Scheduled and on the “New trigger” button at the top.
In the basic settings , you enter the following fields:
- Name: enter the name you want to assign to the trigger;
- Description: Enter a full description of the trigger:
- Segment: select the segment to which you want to send the trigger (for this trigger, it is mandatory to select a segment);
In step 3 of the configuration, to proceed, it is advisable to select the “Expiring product” trigger.

After selecting the trigger, click on “Next”.
At this point you can set the Advanced Configurations.

It is possible to set the number of days prior to the expiry of the product for the trigger.
It is possible to condition the execution of the trigger depending on the presence or absence of confirmed purchases.
For more detailed information on trigger conditioning , we recommend reading the appropriate article.
After creating our trigger, simply create an experience from it, following the steps in the guide.
Thanks for contributing!