The Planned Trigger “Abandoned Shopping Cart Retrieval” is undoubtedly one of the most widely used triggers in e-Commerce.
It is based on data collected in real time by Blendee about users (whether logged in to the site or recognized via Blendee cookies or fingerprints) who add products to the shopping cart without then making a purchase.
Cart data is collected by catalog, so if you intend to use this type of trigger on more than one catalog you will need to create a trigger for each catalog.
There are two important parameters that govern the collection of such data:
- hours after which to start the trigger, i.e., the number of hours after which a cart is considered abandoned, which will determine the start of the relevant trigger.
- days of life of a cart, which is the number of days for which to keep a cart before it is considered lost and thus deleted.
These two parameters are initially configured to default values, and are defined by portal. To change these communicated values, it is necessary to change them from the Settings -> Advanced Settings menu.

To proceed with the configuration of the abandoned cart trigger, it is necessary to access the dedicated section by choosing the “Journey” item from the side menu and then select the “Triggers” item and finally “Scheduled Triggers.”

Once logged in, a new trigger can be created by clicking “New Trigger” at the top.
The trigger can thus be configured by following the steps in the wizard. As a first step, fields related to basic settings such as:
- Name: enter the name you want to assign to the trigger;
- Description: enter a full description of the trigger:
- Catalog: select the catalog on which you want to trigger;
- Segment: select the segment to which you want to send the trigger (for this trigger it is mandatory to select a segment).
This is followed by the selection of the “Abandoned cart retrieval” trigger:
For this type of trigger, it is not necessary to configure any options in the Advanced Configurations section.
Once the configuration is finished, it is appropriate to proceed to the implementation of the message or action you wish to implement for the specific trigger created.
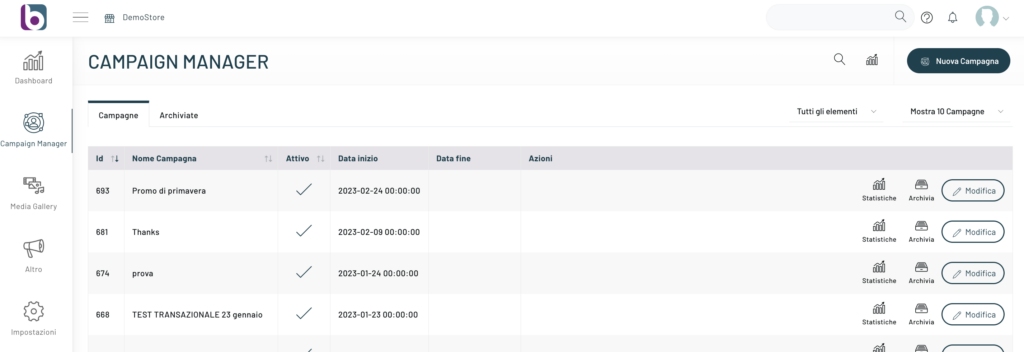
This takes you to the side menu, click on the “Campaign Manager” item, and then select the campaign on which you are going to insert the trigger by clicking on “Edit.”
You can, at this stage, also choose to create a new campaign by clicking on “New Campaign.”
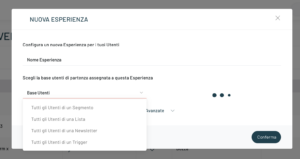
To proceed, once you have chosen to create or edit a campaign, click on the “Create New Experience” button at the top right.
After entering the name of the experience, select “All users of a trigger” from the User Base dropdown, then choose the previously created trigger and proceed by clicking the Confirm button.
Let’s take an example: I want to set up the sending of an email for the recovery of the previously created abandoned cart .
To proceed, drag from the left column the Email item and link it to the source user base. Now click on the item and a right column will open where to conclude the Configuration with Time and Content to be chosen from Current Design, Existing Select or from scratch.
Also by clicking on “Go to editor” it will be possible to completely edit or configure an email. See the article “Introduction to Email Marketing” for more information.

Once we have completed our configuration, press the bottom right “Save Configuration” button.
Thanks for contributing!